Pistol Shooting Drills for Beginners: 2026 Guide
- Mo-Su 10.00 – 20.00
- +372 555 85 416
- sale@laskmine.ee




Left-handed shooting is a valid and often better choice when it gives you safer, more repeatable sight alignment than shooting from your right shoulder ever could. The only way to know for sure is a supervised, unloaded test on both sides, not a guess based on which hand you write with. Tell your instructor you’re left-handed before the session starts, run the alignment checks, then follow the standard safety progression from dry practice into live fire. Tondi Shooting Range runs exactly this kind of session, and no prior experience is required.
TL;DR:
- Testing eye dominance and bilateral shooting from an unloaded firearm ensures the most accurate side selection based on sight alignment, not just hand preference.
- Proper stance, grip, and cheek weld are essential, with equipment adjustments needed for left-handed shooters, especially regarding ejection paths and control placements.
- Supervised first sessions separate unloaded handling from live fire to minimize handling mistakes, with instructor feedback guiding side preference decisions.
- Equipment choices, such as ambidextrous controls and left-handed models, significantly reduce safety risks and ergonomic discomfort during shooting.
- Booking a trial session with professional supervision offers a safer, more effective way to determine your best shooting side than self-experimentation.
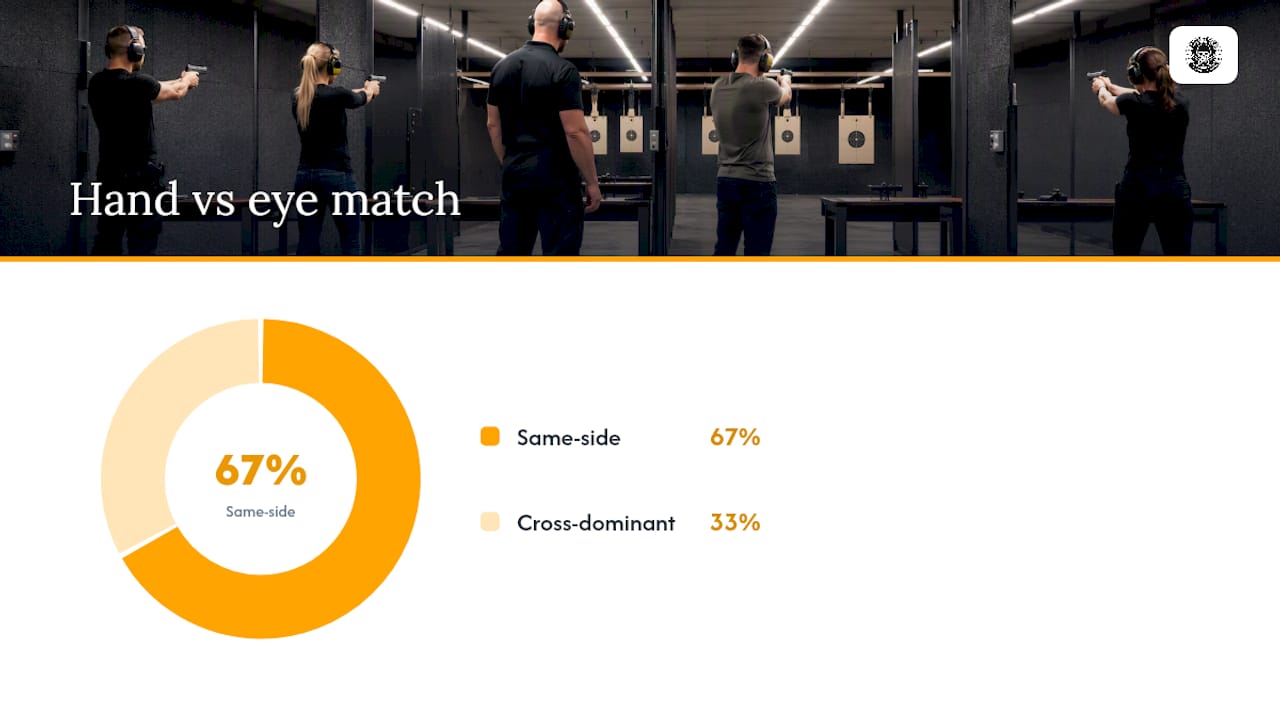
Hand dominance and eye dominance are two separate systems, and roughly a third of people have them split. That mismatch, called cross-dominance, is why a left-handed person can sometimes shoot better from the right shoulder, and why a right-handed person occasionally shoots better as a lefty. Deciding your shooting side by which hand you write with alone skips the one test that actually matters: which eye is doing the aiming.
There’s no solid evidence that left-handers shoot more accurately than right-handers by default. Accuracy comes down to alignment, stance, trigger control, and repetition, not which hand happens to be dominant. That means the “why shoot left handed” question has a practical answer, not a mythical one: you shoot left-handed because your left eye leads, or because it gives you a more stable, repeatable sight picture, not because lefties have some built-in edge.
Here’s a safe way to find out which side actually works for you, using an unloaded firearm under instructor supervision:
As a rule of thumb: switch shoulders if your dominant eye is on the opposite side from your dominant hand and the mismatch causes you to cant your head or lose the sight picture. Stick with your dominant hand’s natural side if both eyes are roughly balanced or your dominant eye already matches it. A step-by-step eye-dominance test can guide you through this before you even book a session.
Once you know your side, the technique work starts. A solid left handed shooting stance mirrors the standard isosceles or modified Weaver position, just flipped: left foot slightly forward, weight balanced over both feet, hips square to the target, shoulders rolled slightly forward to absorb recoil.
Stance fundamentals:
Grip and support hand:
Sight alignment and cheek weld:
Left-handed shooters using right-handed long guns often fight a poor cheek weld, since the stock and comb are shaped for the opposite cheek. That forces your head into an awkward angle, which drags your eye off the sightline and produces shots that drift consistently to one side. A first-person account of relearning to shoot from the left shoulder describes exactly this problem, and the fix is the same one an experienced instructor uses: mount the firearm the same way every single time, let your cheek find the same spot on the stock, and check your sight picture before you ever touch the trigger.
Trigger control drills:
Dry-fire repetition is where lefty shooting techniques actually get built. Start with a simple wall drill: dry-fire while balancing a coin or snap cap on the front sight, and watch whether it stays put through the trigger break. Progress to slow, deliberate presses focused only on straight-back trigger movement, no side pressure. Best practices for trigger control cover this in more depth, and a structured dry-fire practice routine will get you shooting tighter groups faster than live rounds alone.
Pro Tip: If your shots consistently land left of center as a left-handed shooter, check your trigger finger placement first. Too much fingertip on the trigger tends to pull shots toward your dominant side; moving to the pad of your finger usually tightens the group within a session.
Equipment questions matter more for left-handed shooters than most beginners expect, and the biggest one is where your brass goes. Most semi-automatic pistols and rifles eject spent cases to the right, which means a left-handed shooter’s face sits directly in that ejection path. Hot brass bouncing off a shooting glasses lens or grazing a cheek is a real, if minor, hazard, and it’s one reason a supervised first session matters more than reading a spec sheet.
Practical equipment considerations:
Generic online gear lists can’t account for your hand size, eye relief, or how a specific stock feels against your left cheek. Supervised fitting at a range, where an instructor watches you mount and dry-fire several models, catches problems a spec sheet never will. Practical tips for left-handed rifle shooters reinforce this: small ergonomic mismatches compound over a full range session.
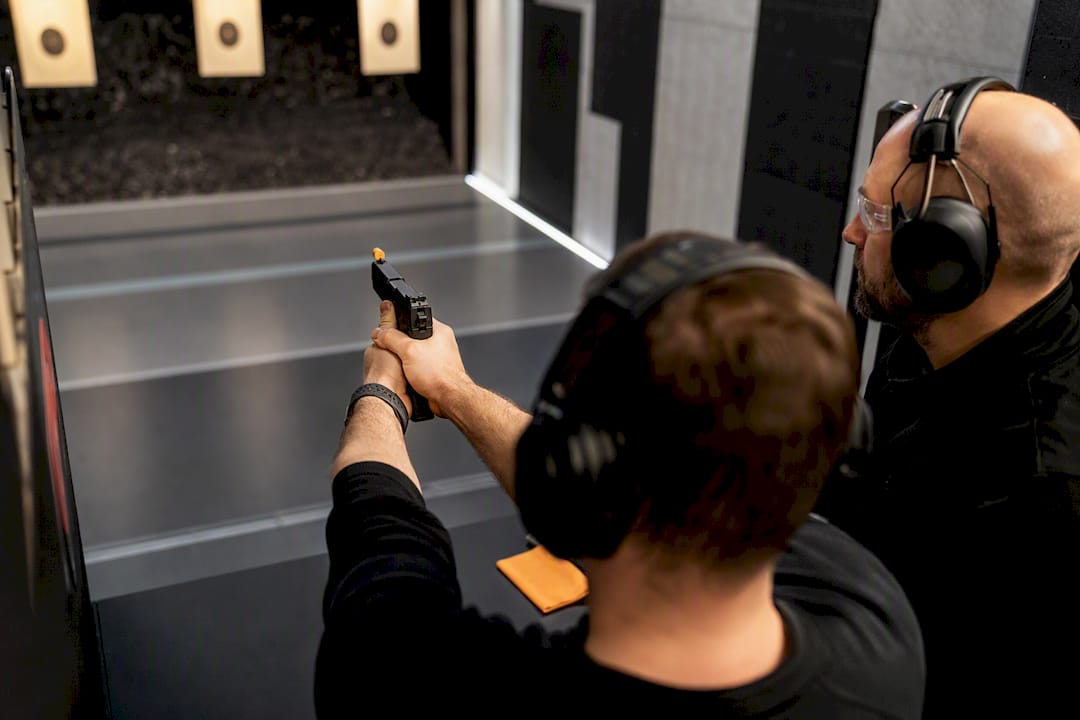
Official firearms training doesn’t jump straight to live fire, and neither should you. Estonia’s own testing framework separates unloaded handling from live shooting for good reason: manipulation errors are far easier and safer to catch when there’s no round in the chamber. The PPA’s shooting exam guidance confirms this structure, and it’s the same logic reputable ranges apply to beginners regardless of handedness.
A typical first session follows this order:
This sequencing exists because switching shooting sides is cognitively demanding, and rushing straight to live rounds multiplies the odds of a handling mistake. Before your session, mention anything relevant: corrective lenses, past shoulder injuries, medications that affect coordination, and which side felt more natural in your own testing. Trying to switch shoulders on your own, without an instructor watching your muzzle direction and trigger discipline, is exactly the scenario that safety-first training exists to prevent. A breakdown of what a practical shooting exam actually involves shows how consistently this unloaded-first structure appears across formal training programs.
Instructor TO’s approach to a new left-handed shooter follows a short diagnostic checklist before a single live round gets fired:
From there, a handful of fast-correction drills fix most early problems: cued dry-fire repetitions where the instructor calls out “break” to isolate trigger timing, single-action trigger presses to build a clean break without anticipation, and two-shot grouping drills that reveal whether errors are coming from grip, stance, or trigger control. Precision shooting technique breakdowns cover several of these in more detail.
Pro Tip: If your groups are tight but consistently off-center, the problem is almost always mechanical, not mental. Check trigger finger placement and cheek weld before assuming you need more repetitions.
Supervised fitting catches these issues in one session instead of dozens of confused range trips. Tondi Shooting Range runs every first-time session indoors, fully supervised, with no experience required.
Guessing which shoulder to shoot from and hoping it works out is the slow way to learn. Tondi Shooting Range gives you the safer route: an instructor-led session where you test both sides with an unloaded firearm before ever touching live ammunition, indoors, with a wide selection of firearms so you’re not stuck comparing just one model. That combination, professional supervision plus real equipment variety, is what generic advice online can’t replicate.
If you’re just starting out, Minu esimene pauk is built for exactly this situation: a beginner-friendly package where instructors walk you through eye-dominance checks, stance, and grip before live fire. Planning a bachelor party, birthday, or group outing? Packages like Shooting Foreplay and Dünaamiline Duo work well for couples and groups of friends who want to compare notes on which shoulder each person shoots best from. Corporate and team-building groups can also book through dedicated event packages designed around group sizes rather than solo sessions.
Every session starts with a safety briefing and unloaded handling checks before anyone loads a magazine, so there’s no pressure to already know your dominant side walking in. If you’re unsure whether left-handed shooting is right for you, the smartest move is booking a supervised trial rather than experimenting alone at home. Check available sessions and book your spot at Tondi Shooting Range in Tallinn.
No. There’s no reliable evidence that left-handed shooters are inherently more accurate than right-handed ones. Accuracy depends on training, stance, grip, and consistent trigger control, not which hand is dominant.
Yes, and left-handed shooting is common and entirely valid, whether you’re shooting a pistol, rifle, or shotgun. The main adjustments involve stance, grip, and checking for cross-dominance, all of which an instructor can assess in a single supervised session.
Neither side is inherently better. The right side for you is whichever shoulder gives you a repeatable, comfortable sight picture, which is best determined through a supervised, unloaded eye-dominance and alignment test rather than a guess.
Military and police training generally accommodates left-handed shooters, often after an eye-dominance and handling assessment similar to civilian training progressions. Official firearms testing, including Estonia’s PPA framework, separates unloaded handling checks from live fire specifically to safely evaluate shooters on either side.
The Minu esimene pauk beginner package includes instructor supervision from the first safety briefing through live fire. Group and couple packages, like Shooting Foreplay and Dünaamiline Duo, provide great value and options for different group sizes, are listed on the gift card and package page.