Best Practices for Trigger Control in Shooting
- Mo-Su 10.00 – 20.00
- +372 555 85 416
- sale@laskmine.ee




If you’re left-handed or cross-dominant, start by shooting from your left shoulder, but confirm it with an eye dominance test before you commit. Run a quick sighting check, then try a short drill from both shoulders under supervision to see which one actually groups tighter. At Tondi Lasketiir, we provide shooting experiences where you can test both sides safely and let the results, not assumptions, decide.
TL;DR:
- Use a card sighting test or the Porta test to identify your dominant eye; if it differs from your hand, compare both shoulders before choosing.
- Before live rounds, keep your finger off the trigger and muzzle downrange from either shoulder; compare repeatable groups using the same target and distance.
- Training from the dominant eye’s side can ease sight alignment, while the dominant hand’s side may support stronger control and recoil management.
- Ask about ambidextrous pistol controls, left hand rifle stocks, and shotgun stock fit; poor cheek weld or stock cast can mimic a shoulder problem.
- Practice dry fire repetitions for mount and cheek weld, then start with slow groups at a fixed distance; add timed drills only after groups tighten.
Before you ever pick up a firearm, figure out two separate things: which hand you naturally use for fine motor tasks, and which eye your brain defaults to for aiming. These don’t always match, and when they don’t, you’re cross-dominant.
Read the results plainly: if your dominant hand and dominant eye match, you’re a standard shooter and the left shoulder is the straightforward choice for a left-handed person. If they don’t match, you’re cross-dominant, and you’ll want to test both shoulders before settling on one. This is more common than most people expect. A large meta-analysis covering more than 54,000 subjects found that roughly 1 in 10 people are left-handed and about 1 in 3 are left-eyed, with 57.14% of left-handers showing left-eye dominance. Cross-dominance isn’t a flaw to fix. It’s a known pattern that simply calls for a bit more testing.
Once you know your hand and eye dominance, run this checklist before your first live rounds:
Then run a short drill from each shoulder at a fixed distance, using the same target and the same rest if one is available. Fire a comparable number of rounds from the left shoulder, then the right, and compare group size rather than individual hits. The shoulder that produces the tighter, more repeatable group under supervision is your better side for building long-term accuracy.
For cross-dominant shooters who get mixed results, there are three common paths: closing or patching the non-dominant eye, forcing yourself to use the weaker eye through practice, or training to shoot from the shoulder that matches your dominant eye instead of your dominant hand. Retraining to the opposite shoulder is usually worth the effort only if your current setup keeps producing inconsistent groups after several sessions.
Pro Tip: Keep a simple log of group size and shoulder for every session. Patterns show up faster on paper than in memory.
Each firearm type presents its own quirks for left-handed and cross-dominant shooters, and knowing what to check saves you frustration on your first visit.
Good technique from the left shoulder isn’t a mirror image of right-handed form bolted on backward. It has its own footwork, rotation, and rhythm.
Before live fire, a dry-fire routine builds the muscle memory for cheek weld and sight picture without the distraction of recoil or noise. Our dry-fire practice guide walks through a safe at-home routine you can run in short sessions.
Once you move to live fire, progress in stages: start with slow-fire groups at a fixed distance to check consistency, then add timed drills only after your groups tighten up. Rushing to speed before your groups are consistent tends to bake in bad habits that take longer to unlearn later.
A few equipment choices remove friction that has nothing to do with skill and everything to do with fit.
When you book a session, it’s worth asking for instructor supervision while you test equipment, a lane setup that gives you room to mount from either shoulder, and an adjustable bench if you’re shooting rested. Trying gear under supervision, rather than guessing at home, avoids a poor fit becoming a bad habit.
Pro Tip: If a rifle or shotgun feels wrong from the left shoulder, ask your instructor to check length of pull and cast before assuming the shoulder choice itself is wrong.
A first session with a professional instructor moves faster than figuring things out alone, because the checks are structured and immediate.
On your first visit, an instructor typically runs a quick hand and eye dominance assessment, walks through safe basic handling for whichever shoulder you’re testing, and has you run a short on-range drill so you get real feedback on your group, not just a guess. At Tondi Lasketiir, sessions are supervised by professional instructors, the range is indoor, and no experience is required to book. Our guide to why professional instruction matters covers this in more depth. A supervised trial session is the fastest way to confirm your long-term shoulder and setup rather than guessing through trial and error on your own.
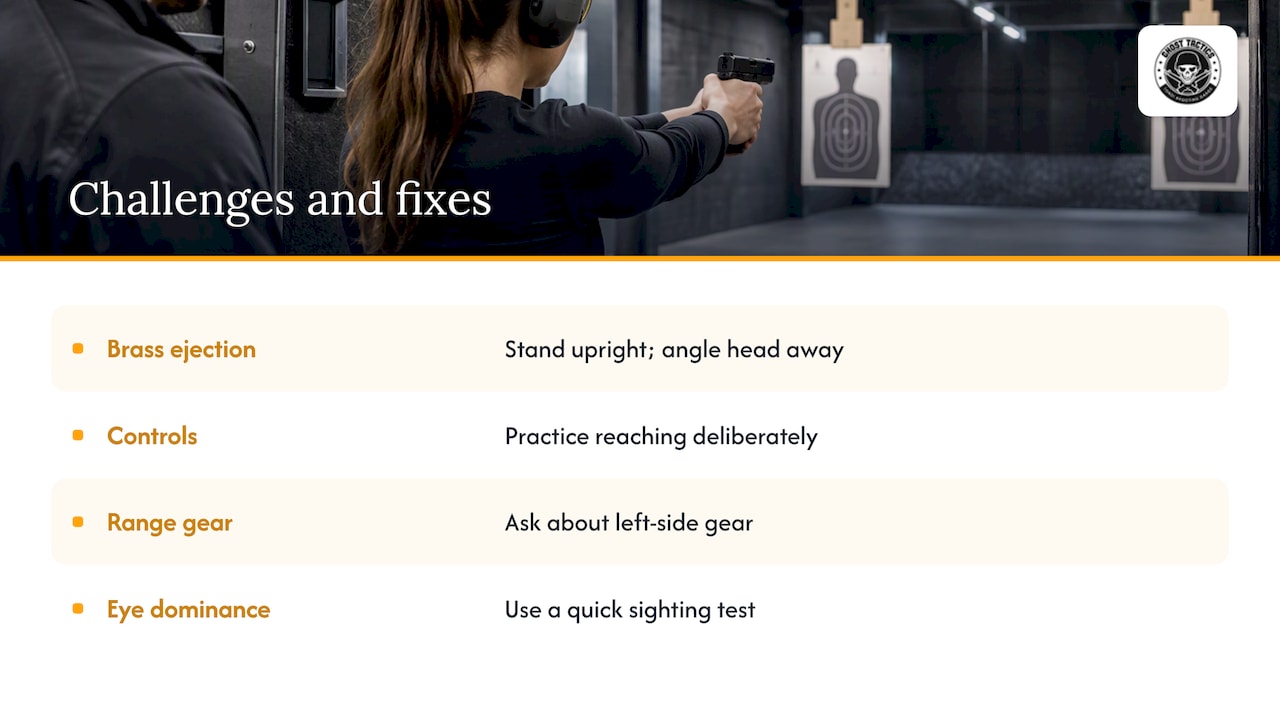
Most left-handed shooters run into the same handful of obstacles, and each one has a workable fix. Right-side ejection ports on many pistols and rifles can throw spent brass toward a left-handed shooter’s face, which is uncomfortable and distracting. Standing slightly more upright and angling your head a few degrees away from the ejection port solves this without changing your whole stance.
Reaching controls built for right-handed hands is another common friction point, since magazine releases, bolt handles, and safeties often sit on the side that’s natural for a right-handed grip. Practicing the reach as a deliberate motion, rather than an afterthought, closes that gap faster than most people expect.
Borrowed or range-provided gear is frequently set up for right-handed use by default, which can make a left-handed shooter feel like the odd one out before they’ve fired a shot. Asking in advance whether ambidextrous or left-side gear is available removes that friction before it affects confidence.
Finally, many left-handed shooters have simply never had someone check their eye dominance, so they’ve spent years assuming their dominant hand decides everything. A quick sighting test can help clarify this and often explains inconsistent groups that felt like a skill problem but were actually an eye dominance mismatch.
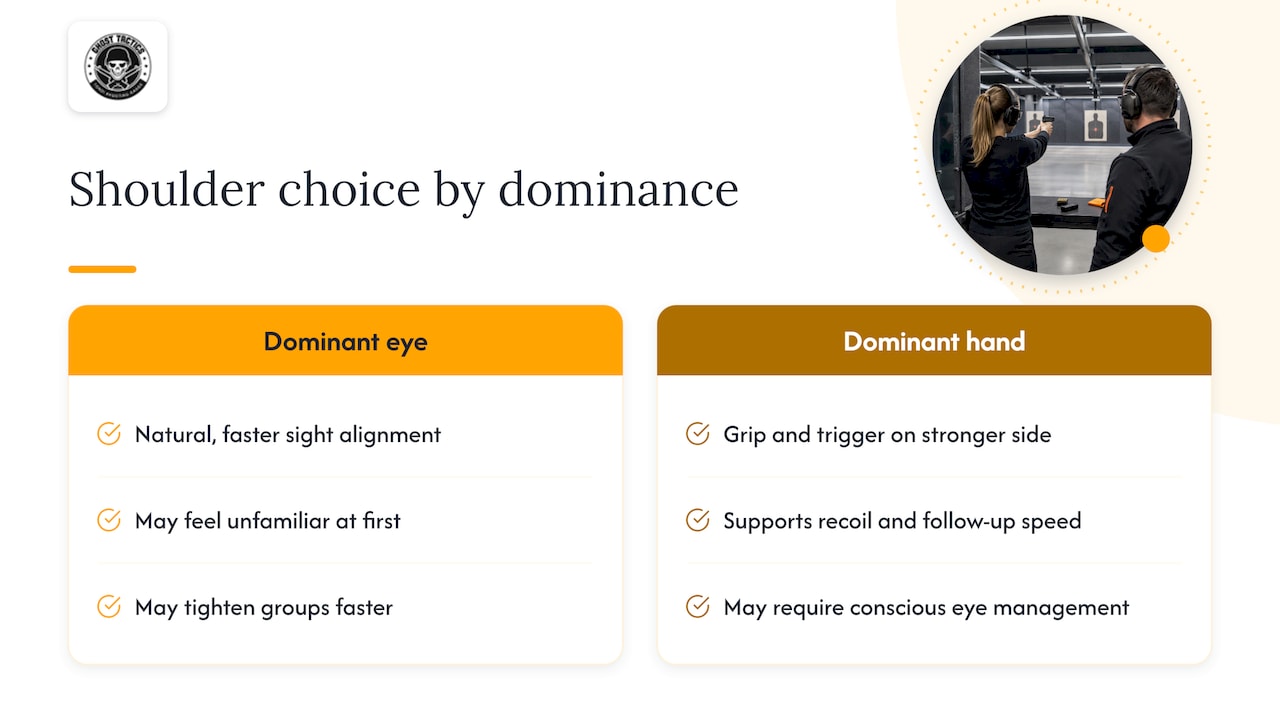
Training to match your dominant eye tends to produce faster, more natural sight alignment, since your brain defaults to that eye for aiming whether you want it to or not. For a cross-dominant shooter, this can mean shooting from the shoulder opposite their dominant hand, which feels unfamiliar at first but often tightens groups faster once the mechanics catch up.
Training to match your dominant hand instead keeps your grip, trigger control, and firearm manipulation on your stronger, more coordinated side, which matters for recoil management and speed on follow-up shots. The tradeoff is that you may need to consciously manage which eye you’re using, through closing, patching, or deliberate focus, rather than letting it happen naturally.
Neither path is universally better. Encouragingly, an experimental study on dart throwing found no significant difference in skill acquisition between unilateral and cross-lateral groups, suggesting that a mismatch between eye and hand dominance does not necessarily cap how accurate you can become with practice. The decision often comes down to which setup produces tighter groups in your own shoulder-comparison drill, not which one sounds more correct on paper.
A few drills consistently help left-handed and cross-dominant shooters build accuracy faster than unstructured practice. The dot drill, firing at a series of small dots on a target from a fixed distance, forces consistent sight alignment and trigger control without the distraction of a full-size target.
Dry-fire reps focused purely on cheek weld and mount, repeated ten to fifteen times before ever loading a round, build the muscle memory that live fire alone takes longer to establish. Alternating-shoulder drills, where you deliberately switch shoulders during a session, help cross-dominant shooters gather direct comparison data instead of relying on memory from separate sessions days apart.
For shotgun work, slow mount-and-swing repetitions without firing, tracking an imaginary moving target, build the muscle memory for a left-shoulder mount’s different swing direction before adding live birds or clays. For rifle work, supported slow-fire groups at a known distance, with deliberate attention to trigger press rather than speed, reveal whether your shoulder choice and cheek weld are actually consistent.
Left-handed shooters have historically had fewer dedicated options, since most mass-produced firearms were designed around right-handed ejection and control layouts. That’s changed over recent decades as manufacturers added ambidextrous controls and left-hand-specific stock options to more product lines.
For rifles, left-hand bolt-action models position the bolt handle on the left side, letting a left-handed shooter cycle the action without breaking their cheek weld or reaching across the stock. These remain less common than right-hand models but are increasingly available as dedicated variants.
For pistols, ambidextrous controls, meaning magazine releases and slide stops reachable from either side, have become common enough that handedness matters less for pistol selection than it does for rifles or shotguns. Semi-automatic pistols with ambidextrous safeties in particular reduce the friction left-handed shooters used to face.
For shotguns, left-hand-cast stocks adjust the angle of the stock to fit a left-shoulder mount more naturally, improving cheek weld and sight alignment without requiring a fully custom build. If a left-hand-specific model isn’t available, a standard shotgun can still be shot effectively from the left shoulder with attention to mount consistency, which matters more for accuracy than the stock’s handedness.
Speed comes after consistency, not before it, so the fastest route to genuine improvement starts with tightening your groups before worrying about your split times. Focus first on a repeatable cheek weld and mount, since a shooter who resets the same way each time can build speed without consciously rushing.
Dry-fire practice between range sessions sharpens trigger control and sight picture without the cost or time pressure of live ammunition, and a short daily routine often produces faster gains than occasional long sessions. Keeping a simple log of group size, distance, and shoulder used turns vague impressions into real data you can act on.
Grip pressure matters more than most shooters expect. A firm, consistent grip prevents the muzzle from drifting between shots, which matters as much for speed as for accuracy since a wandering sight picture forces you to re-aim instead of simply pressing the trigger again. Finally, timed drills are useful, but only once your untimed groups are already tight. Adding a clock before your fundamentals are solid tends to bake in flinching and rushed trigger presses that take longer to undo than they took to create.
Feeling like the odd one out at a range built around right-handed defaults can quietly erode confidence before a left-handed shooter has even fired their first group. That mismatch is logistical, not a reflection of ability, and recognizing that early helps keep frustration from turning into self-doubt.
Confidence tends to build fastest through small, visible wins: a tighter group than last session, a smoother mount, a control reach that finally feels natural. Tracking those small improvements, rather than comparing yourself to right-handed shooters around you, keeps progress feeling real instead of abstract.
Cross-dominant shooters sometimes second-guess their shoulder choice repeatedly, which can stall progress more than the mismatch itself does. Committing to a shoulder for a full session, and trusting the drill comparison rather than switching mid-session out of doubt, tends to produce steadier gains and steadier nerves. Working with a professional instructor who has seen this pattern before also reassures a lot of first-time left-handed shooters that their experience is normal, not a sign they’re doing something wrong.
Figuring out your best shoulder on your own takes guesswork and repeated range visits. A supervised session can help you compare your options. At Tondi Lasketiir, no experience is required to book, sessions take place on our indoor range under professional instructor supervision, and safety training is included. We offer firearms experiences so you can test both shoulders and compare your options.
Whether you’re a tourist curious about your first shot, planning a bachelor party or birthday, or organizing a corporate team-building session, our instructors tailor the setup to your handedness from the start. Visit our Shooting at the range page to see available sessions and book your spot.
Check which hand you naturally write and throw with to confirm handedness, then run a hole-in-card or Porta sighting test to find your dominant eye. If your dominant hand and dominant eye don’t match, you’re cross-dominant and should test both shoulders before choosing one.
Not always. A left-handed shooter with matching left-eye dominance usually does best from the left shoulder, but a cross-dominant left-handed shooter, meaning one with right-eye dominance, often gets tighter groups shooting from the right shoulder instead.
No. At Tondi Lasketiir, no experience is required, so you can test different shoulders and grips under instructor supervision.
A short drill from each shoulder, comparing group size rather than individual hits, gives a clear answer within one session. Running this under supervision, like during a first visit to our indoor range, speeds up the comparison and adds immediate technique feedback.
Yes. A study on eye-hand dominance interaction found no significant difference in skill acquisition between cross-lateral and unilateral groups, suggesting cross-dominance doesn’t cap how accurate a shooter can become with consistent practice.